Resources
Resources and FAQs
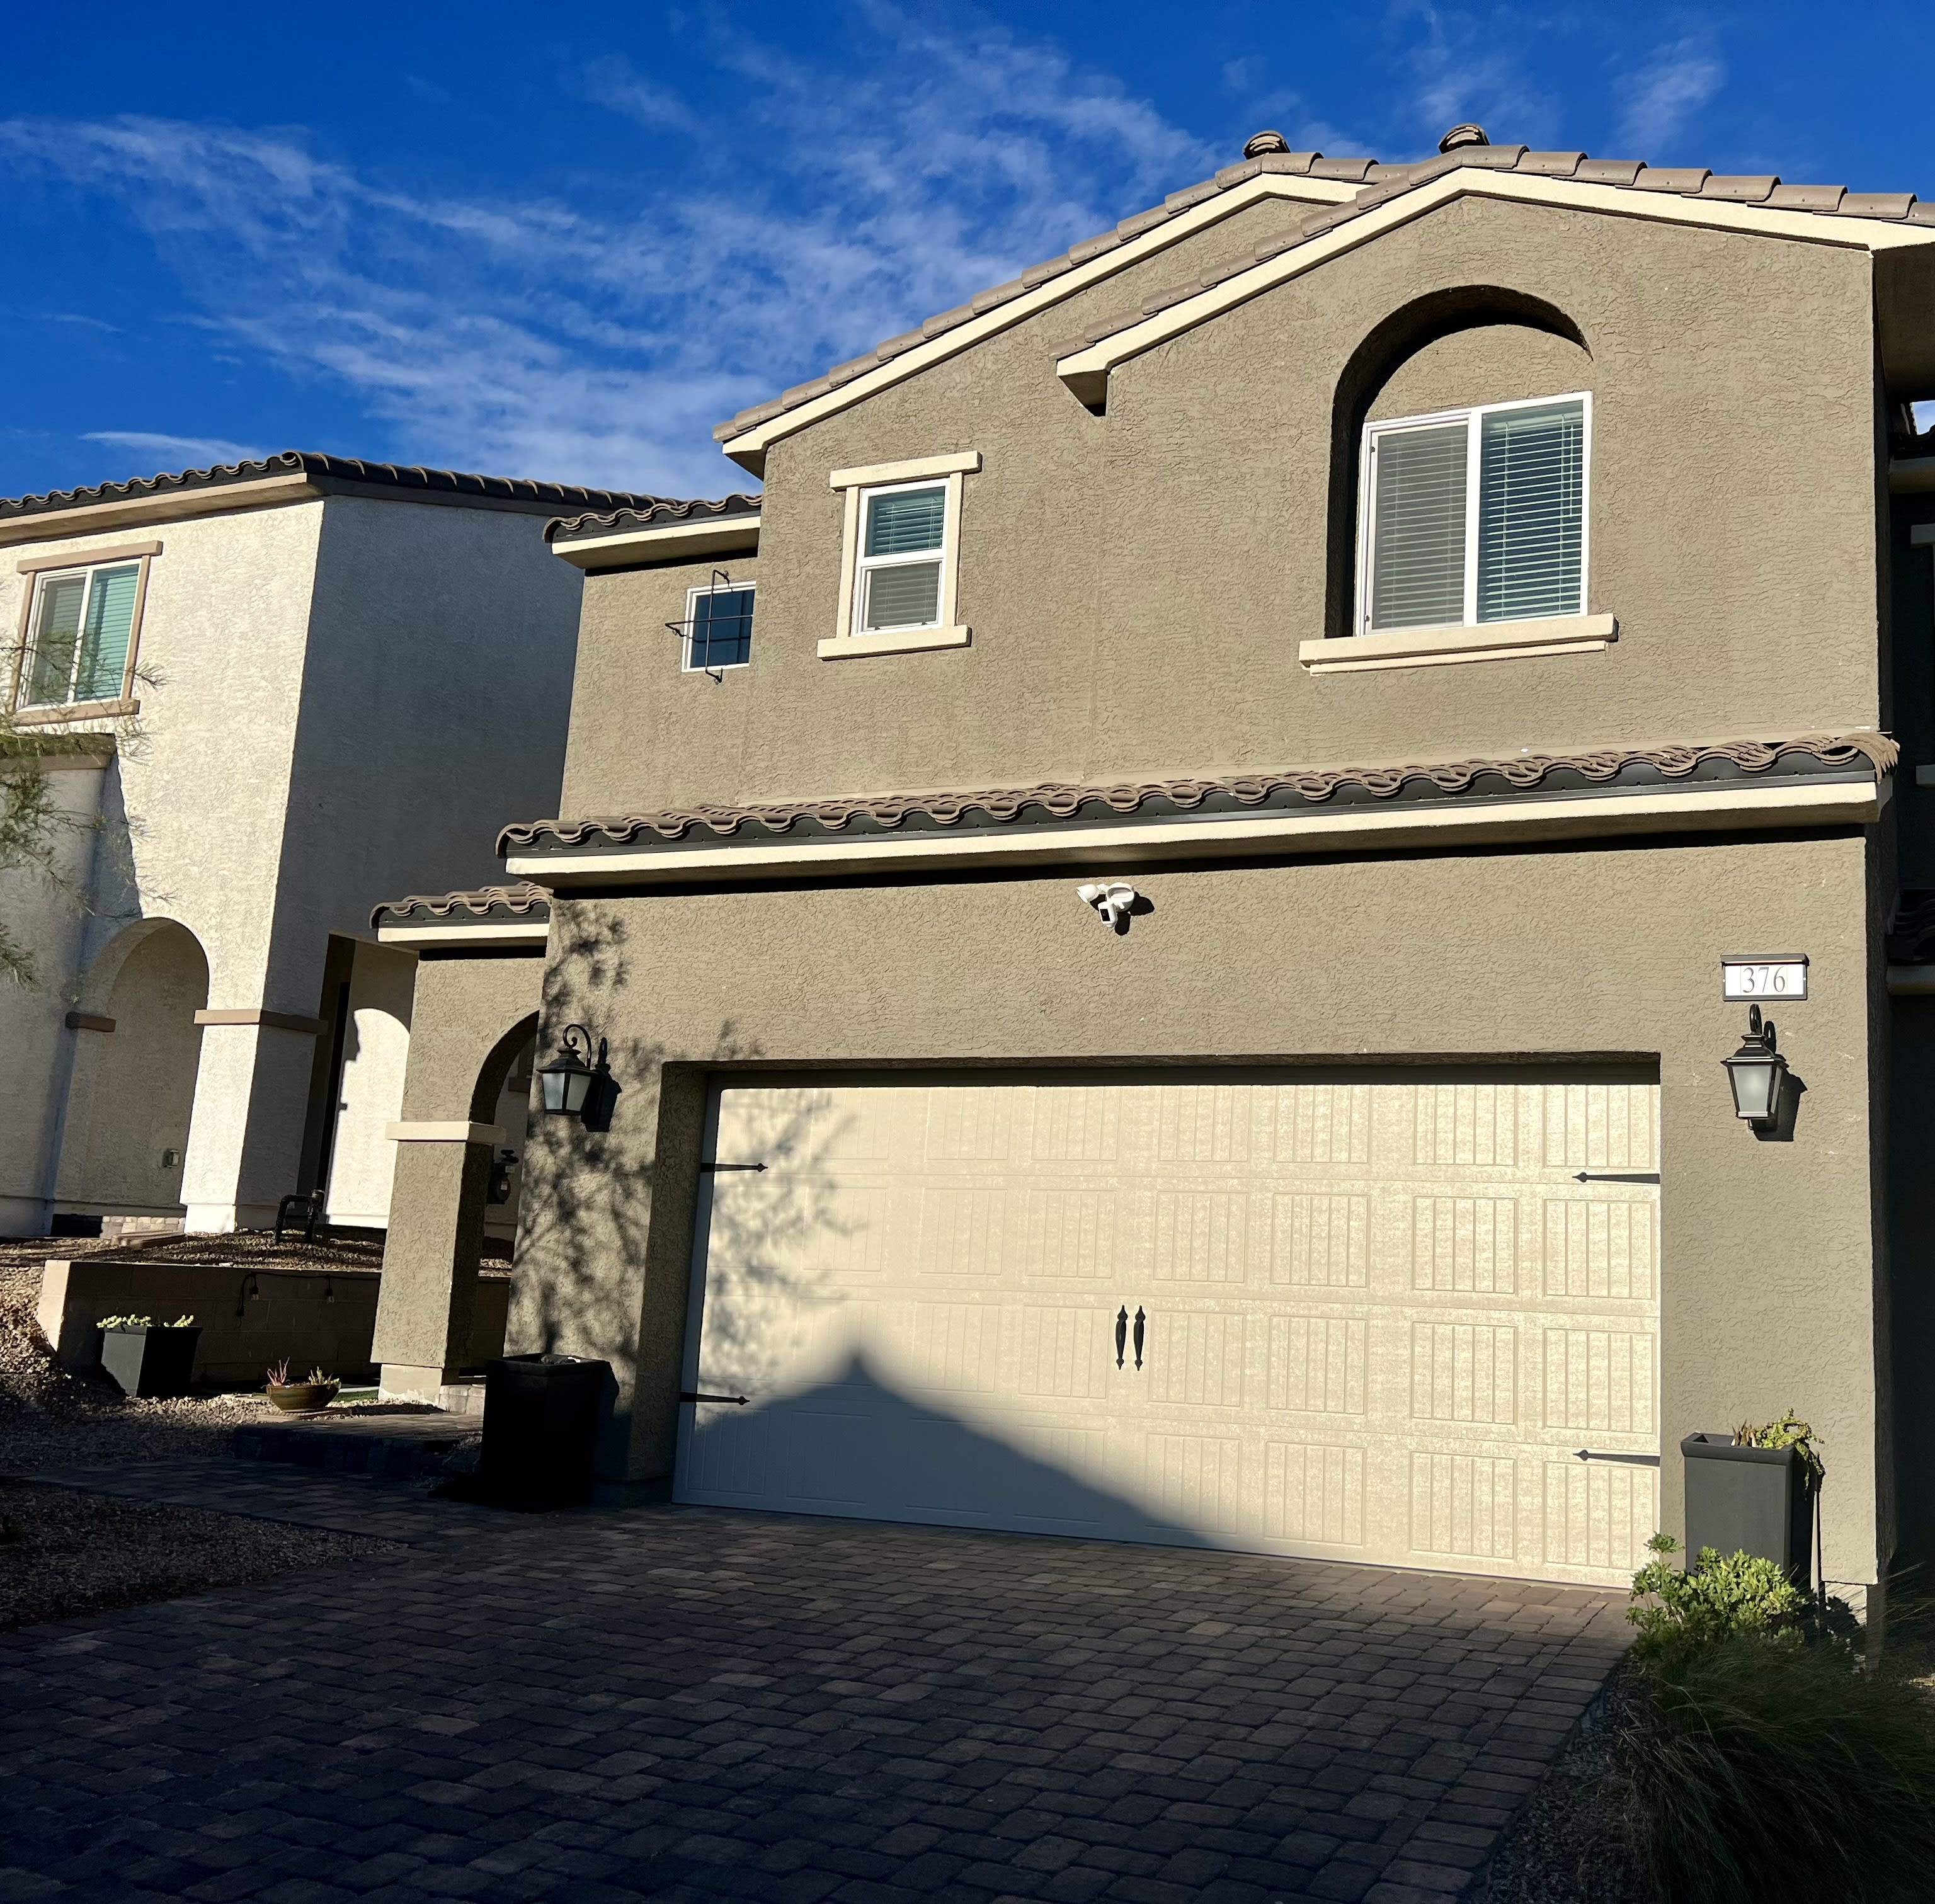
Painting tips, guides, and straight answers for Henderson and Las Vegas homeowners, from a painter who has worked this valley since 1993.
Frequently Asked Questions
The questions Henderson and Las Vegas homeowners ask us most.
Do you offer free estimates?
Yes. Vic comes out, walks the property, and writes the bid himself. No charge, no pressure.
Are you licensed, bonded, and insured?
Yes. Victory Painting is licensed by the Nevada State Contractors Board (NSCB#0089288) and carries full liability and workers comp coverage.
How soon can you start?
Most projects can start within one to two weeks of accepting the estimate. For urgent HOA issues or quick touchups, Vic will work to fit you in sooner when possible.
Do you help pick colors?
Yes. Vic helps homeowners narrow down colors that fit the home, the neighborhood, and the look you're after. Sample swatches and small area test patches are part of the process when needed.
What forms of payment do you accept?
Cash or check. Payment is typically split into a deposit at the start and the balance after the final walkthrough.
Do you guarantee your work?
Yes. Victory Painting stands behind the workmanship and will return to address anything that isn't right after the final walkthrough.
Can you paint while we're living in the house?
Yes. We work around occupied homes, protect floors and furniture, and keep work areas clean and organized day to day.
Do you handle drywall repair, not just paint?
Yes. Cracks, holes, failed texture, and patch work are addressed before paint goes on so the finished surface actually looks finished.
What areas do you serve?
Henderson, Las Vegas, Summerlin, and Boulder City. If you're nearby and not sure, just call Vic and ask.
Will Vic actually be on my job?
Yes. Victory Painting is owner led. Vic walks the property, writes the bid, and stays close to the crew through the finish coat. No bait and switch.
When is the best time of year to paint a house exterior in Las Vegas?
Fall through spring, roughly October to April, is ideal. Temperatures are moderate and the air is dry, so the paint cures properly. Peak summer heat and the late summer monsoon make exterior work harder, though early morning starts can still work. Interiors are good to paint any time of year.
How long does an exterior paint job last in the desert?
On most stucco homes a quality exterior holds up about five to seven years, and sun facing walls can need attention sooner. Thorough prep and a UV resistant product made for our climate are what make it last.
Do you handle interior painting, or just exteriors?
Both. We do full interior repaints, trim, doors, cabinets, and accent walls, along with exterior work, drywall and texture repair, touch ups, and HOA projects. Summer is an especially good time for interior work since the rooms stay climate controlled.
Can you help with HOA color approvals?
Yes. We are familiar with the architectural review process in Henderson and Summerlin communities, we match approved palettes, and we can provide proof of license and insurance that many boards require. The homeowner usually submits the application, and we provide the color and product details you need.
Do you repair stucco cracks before painting?
Yes. We open and clean the cracks, fill and rebuild damaged areas, blend the texture, and prime before painting, so the repair disappears and the new coat seals properly instead of cracking through again.
Latest Guides
Fresh painting guides are on the way. In the meantime, the answers above cover the questions we hear most. If you do not see yours, reach out and Vic will help directly.